15 Simple Nail Designs You Can Actually Do at Home
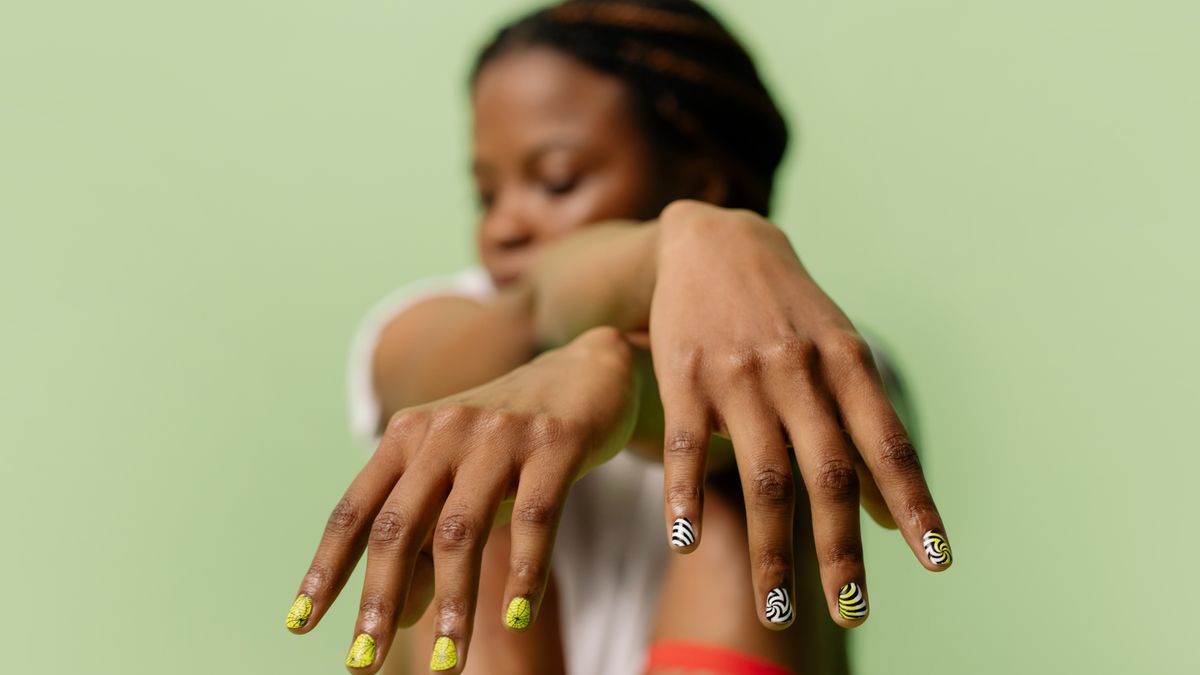
Simple nail designs prove that a great manicure does not need salon prices or years of nail art practice. With a few things you already have in a drawer, you can go from bare nails to a finished, put-together look at your own kitchen table.
This guide walks you through 15 simple nail designs you can do at home, sorted from easiest to slightly more involved. Every one includes a difficulty rating, a realistic time estimate, and clear step-by-step instructions. No expensive kits, no steady-handed wizardry, and nothing you cannot undo with a cotton pad and remover.
A quick note from me: I have painted my own nails at home for years, mostly because I got tired of chipping a $35 salon manicure two days later. Everything in this guide is something I have actually done at my own table, usually with a podcast on and a bobby pin as my main tool. The bobby-pin dot trick in design #4 is still the one friends ask me about most. Where I mention a mistake to avoid, it is because I made it first.
How to Do Simple Nail Designs at Home (Quick Answer)
To do simple nail art at home, follow this order:
- Prep nails with a base coat so color goes on smooth and lasts longer.
- Apply your base color in two thin coats, letting each dry.
- Add the design using a bobby pin (dots), tape (lines), or a makeup sponge (ombre).
- Clean up edges with a small brush dipped in remover.
- Seal everything with a top coat, wrapping it over the nail tip.
That five-step framework covers every design below. Now let us get into the specific looks, starting with the easiest.
Table of Contents
- What You Need Before You Start
- 15 Simple Nail Designs, Easiest First
- Which Design Should You Try? (Quick Picker)
- Difficulty & Time Comparison Table
- How to Make Your Manicure Last
- 5 Beginner Mistakes to Avoid
- Frequently Asked Questions
What You Need Before You Start
You do not need a professional kit. Almost every design in this guide uses household items in place of dedicated nail tools. Here is the short list worth having within reach:
- A base coat and top coat. These two do more for how your manicure looks and lasts than any color you choose. Do not skip them.
- Two or three polish colors. One base shade plus one or two contrasting shades covers every look here.
- Regular tape or washi tape. For crisp diagonal tips and geometric lines.
- A bobby pin. The rounded end makes perfect dots and dot-flowers.
- A makeup sponge. The secret to a soft ombre gradient.
- Hole-reinforcement stickers. Those little ring stickers for binder paper make flawless half-moons.
- A thin brush and remover. For cleaning up around the cuticle so the whole thing looks salon-neat.
15 Simple Nail Designs, Easiest First
1. Single Accent Nail
This is the easiest finished-looking manicure you can do, full stop. Difficulty: easy. Time: about 20 minutes.
Paint every nail one solid color. Then paint just the ring finger a contrasting shade, or add a coat of glitter over the base color on that one nail. That single point of difference makes the whole hand look intentional and styled, with zero technical skill required.
Steps: apply base coat, paint all nails your main color in two thin coats, let dry, then paint or glitter the accent nail. Finish with top coat over everything. If you have never done nail art before, start here and build your confidence.
2. Half-Moon Cuticle Design

The half-moon uses negative space for a look that feels far more advanced than it is. Difficulty: medium. Time: 30 to 40 minutes.
Paint your base color and let it dry completely. Stick a hole-reinforcement sticker near the cuticle so it masks a small half-moon shape. Paint the rest of the nail your second color, then peel the sticker off while the polish is still slightly wet to reveal a clean crescent of the base color underneath.
The trick is patience: the base color must be fully dry before you place the sticker, or you will lift it when you peel.
3. Two-Tone Diagonal Tips
A modern twist on the classic French tip that hides mistakes well. Difficulty: medium. Time: about 30 minutes.
Apply your base color and let it dry. Lay a strip of tape diagonally across the nail near the tip, pressing the edge down firmly so polish cannot bleed under it. Paint a second color over the exposed tip section, then remove the tape immediately while wet for a crisp diagonal line.
4. Dot Flowers With a Bobby Pin
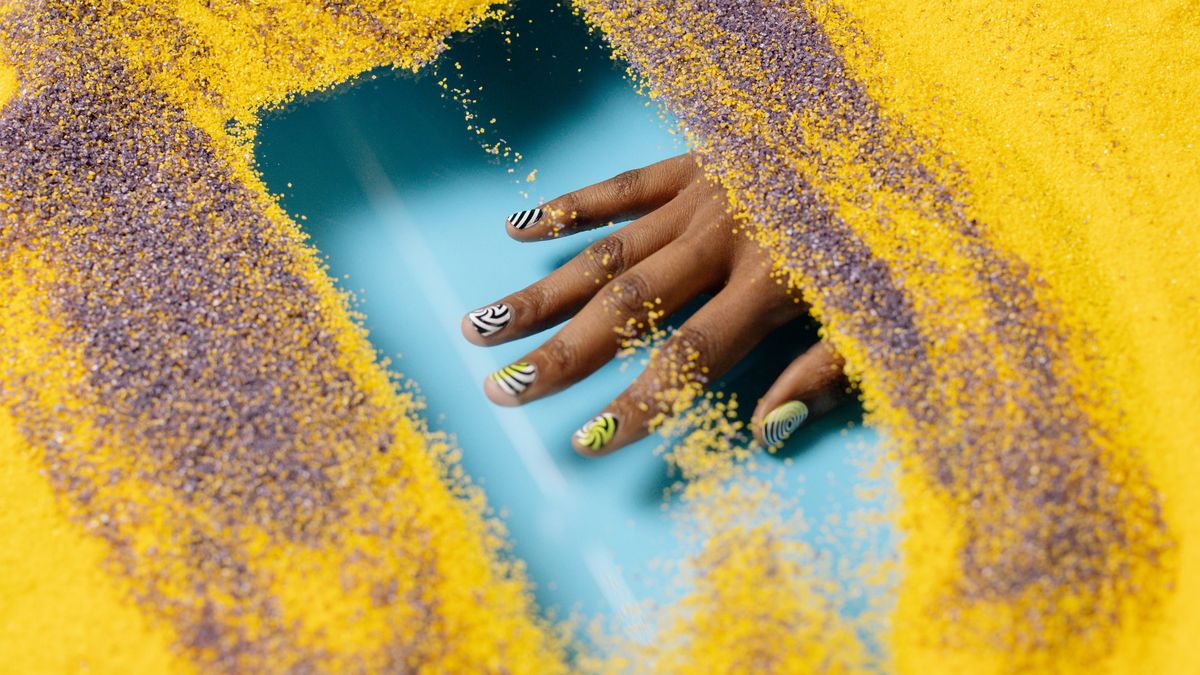
This is the design my friends always ask about, and it takes zero artistic talent. Difficulty: easy. Time: about 25 minutes.
Dip the rounded end of a bobby pin into your polish. Dot five small petals in a circle, then add a single dot of a different color in the center. That is a flower. Do one or two accent nails rather than all ten so it stays elegant instead of busy.
For clean dots, reload the bobby pin with fresh polish before each petal so they stay uniform in size. This is the technique people assume needs a real dotting tool, and it absolutely does not.
5. Negative Space Geometric Lines
Clean, modern, and surprisingly forgiving because bare nail is part of the design. Difficulty: medium. Time: 30 to 35 minutes.
Use thin strips of tape to block off sections of bare nail in a geometric pattern, such as a triangle at the base or a stripe down one side. Paint over the whole nail, then peel the tape while wet. The unpainted areas become sharp geometric shapes, and because you are leaving bare nail exposed on purpose, small imperfections read as intentional.
6. Ombre Fade With a Makeup Sponge

A salon-look gradient that costs nothing but a makeup sponge. Difficulty: medium. Time: 35 to 40 minutes.
Paint two polish shades in side-by-side stripes directly onto a makeup sponge. Dab the sponge onto the nail repeatedly, reloading the polish each time, until the two colors blend into a soft gradient. Work over a base coat and clean up the inevitable skin overspray afterward with a brush and remover.
Ombre is messy while you do it and stunning once cleaned up. Do not judge it until you have wiped the edges.
7. Glitter Gradient Tips
The lazy way to look festive without any precision at all. Difficulty: easy. Time: about 20 minutes.
Paint your base color. Once dry, brush a glitter polish only at the tips, then feather it downward with a second lighter pass so it fades toward the middle of the nail. Denser glitter at the tip, sparser toward the base, creates a gradient effect with none of the sponge work.
8. Color Block Two-Tone
Two colors, one straight line, endless combinations. Difficulty: easy. Time: 25 minutes.
Paint the whole nail your first color and let it dry. Lay tape straight across the middle of the nail, then paint the exposed half a second color. Peel while wet. The result is a clean half-and-half color block that looks especially good with one matte and one glossy shade.
9. Single Stripe Accent
One thin line that instantly elevates a plain manicure. Difficulty: medium. Time: 25 to 30 minutes.
Over a dry base color, lay two strips of tape close together with a narrow gap between them running down or across the nail. Paint the gap with a contrasting or metallic shade, then peel the tape for one crisp stripe. Metallic gold or silver over a neutral base looks expensive for how easy it is.
10. Polka Dots All Over

Playful, retro, and made entirely with your bobby pin. Difficulty: easy. Time: 25 to 30 minutes.
Over a dry base color, use the rounded bobby-pin end to dot evenly spaced polka dots across each nail. Keep the dots the same size by reloading polish each time. Two contrasting colors, like white dots on navy, give the cleanest retro effect.
11. Diagonal Half-and-Half
A bolder cousin of the color block, split corner to corner. Difficulty: medium. Time: 30 minutes.
Tape a clean diagonal from one corner of the nail to the opposite side. Paint the exposed triangle a second color and peel while wet. The diagonal split feels more dynamic than a straight line and photographs beautifully for your Pinterest boards.
12. Minimal Line Art
A single freehand line for anyone who wants something artsy but restrained. Difficulty: medium. Time: 30 minutes.
Over a nude or sheer base, use a thin nail brush or the edge of a bobby pin to draw one simple line: a single squiggle, an abstract wave, or a straight line off-center. Keep it to one or two accent nails. The beauty of minimal line art is that imperfect lines still look deliberate.
13. French Tip With Tape
The timeless classic, made foolproof with tape. Difficulty: medium. Time: 30 to 35 minutes.
Paint a sheer or pale pink base and let it dry. Lay tape across the nail just below the tip, curving it slightly, then paint the exposed tip white. Peel while wet for the iconic French line without needing a steady freehand curve.
14. Sponged Galaxy Accent

Looks intricate, but it is just sponging plus dots on one nail. Difficulty: medium. Time: 35 minutes.
On a black base, dab patches of blue and purple with a sponge, add tiny white bobby-pin dots for stars, and seal with a glittery top coat. Do it on one accent nail only. The randomness of a galaxy means there is no wrong way to place the color, which makes it far easier than it looks.
15. Matte Top Coat Finish
Transform any design above by changing only the finish. Difficulty: easy. Time: 5 extra minutes.
Take any finished design and seal it with a matte top coat instead of a glossy one. The same colors instantly look more modern and expensive. A matte finish over a deep berry or forest green is a whole different, elevated look with no extra design work at all.
Which Design Should You Try? (Quick Picker)
Not sure where to start? Answer one question and get a match.
💅 Find Your First Design
How much time and patience do you have today?
Difficulty & Time Comparison Table
Here is every design at a glance, so you can match a look to the time you actually have:
| Design | Difficulty | Time | Main Tool |
|---|---|---|---|
| Single Accent Nail | Easy | 20 min | Polish only |
| Glitter Gradient Tips | Easy | 20 min | Glitter polish |
| Matte Finish | Easy | +5 min | Matte top coat |
| Dot Flowers | Easy | 25 min | Bobby pin |
| Color Block Two-Tone | Easy | 25 min | Tape |
| Polka Dots | Easy | 25-30 min | Bobby pin |
| Two-Tone Diagonal Tips | Medium | 30 min | Tape |
| Single Stripe Accent | Medium | 25-30 min | Tape |
| Diagonal Half-and-Half | Medium | 30 min | Tape |
| Minimal Line Art | Medium | 30 min | Thin brush |
| Half-Moon | Medium | 30-40 min | Ring stickers |
| Negative Space Lines | Medium | 30-35 min | Tape |
| French Tip | Medium | 30-35 min | Tape |
| Ombre Fade | Medium | 35-40 min | Makeup sponge |
| Sponged Galaxy | Medium | 35 min | Makeup sponge |
How to Make Your Manicure Last
A design is only as good as how long it survives. These habits are the difference between a manicure that lasts two days and one that lasts a week:
- Always use a base coat. It gives the color something to grip and prevents staining on lighter nails.
- Two thin coats, never one thick one. Thick coats stay soft inside, dent easily, and peel in sheets.
- Wrap the tip. Swipe each coat, including top coat, over the free edge of the nail. This one habit dramatically reduces chipping.
- Reapply top coat every 2-3 days. A fresh layer reseals tiny chips before they spread.
- Wear gloves for dishes. Hot water and detergent are the fastest way to wreck a home manicure.
5 Beginner Mistakes to Avoid
I made every one of these before I figured out the fix. Save yourself the do-over:
- Applying tape to wet polish. The base color must be fully dry, or the tape peels it right off. Wait 10-15 minutes.
- Painting coats too thick. Thick polish never fully dries and smudges hours later. Thin layers every time.
- Skipping the top coat. Without it, even the prettiest design chips within a day and looks flat.
- Doing intricate art on all ten nails. It looks busy and takes forever. Keep detailed designs to one or two accent nails.
- Not cleaning up the edges. A quick pass with a brush dipped in remover around the cuticle is what makes home nails look salon-done.
Frequently Asked Questions
Do I need special nail art tools to try these designs?
No. A bobby pin, some tape, and a makeup sponge substitute for dedicated tools in nearly every design here. You can create dots, clean lines, and gradients with items you already own at home.
What is the easiest nail design for a first attempt?
The single accent nail. It needs no steady hand for lines or dots, just one different color or a coat of glitter on one finger. It takes about 20 minutes and looks intentional every time.
How do I make my at-home manicure last longer?
Always start with a base coat, apply two thin coats of color instead of one thick coat, and seal with a top coat that wraps over the free edge of the nail. Reapply top coat every two to three days.
How long should I wait between coats of polish?
Wait about two minutes between thin coats so each layer sets. For tape designs, let the base color dry fully for at least 10 to 15 minutes before applying tape, or it will peel the color off.
Can I do these nail designs on short nails?
Yes. Accent nails, dot flowers, half-moons, and diagonal tips all work beautifully on short nails. Simple designs with a single focal point actually tend to suit short nails better than busy full-nail art.
Final Thoughts
Simple nail designs are proof that a polished manicure is about technique and patience, not expensive tools or salon appointments. Start with the single accent nail, work your way up to dots and tape designs, and before long the makeup-sponge ombre will feel easy too.
The best part of doing your nails at home is that every mistake wipes away with remover. There is no pressure and no wasted money, just a relaxing hour and ten nails that look like you tried. Pick one design from the list above and give it a go tonight.
📌 Loved these ideas? Pin this guide to your nail inspo board!
Save it so every simple nail design is ready the next time you sit down to paint your nails.
Want more easy beauty wins? Explore our guides on at-home manicure tips, budget beauty tools worth buying, and seasonal nail color trends.
About [REPLACE-AUTHOR-NAME]
I am the founder of Modern Chic Style, where I share approachable beauty and style ideas you can actually pull off at home. I have been doing my own nails for years and believe a great manicure should not cost a fortune or require a single specialty tool.